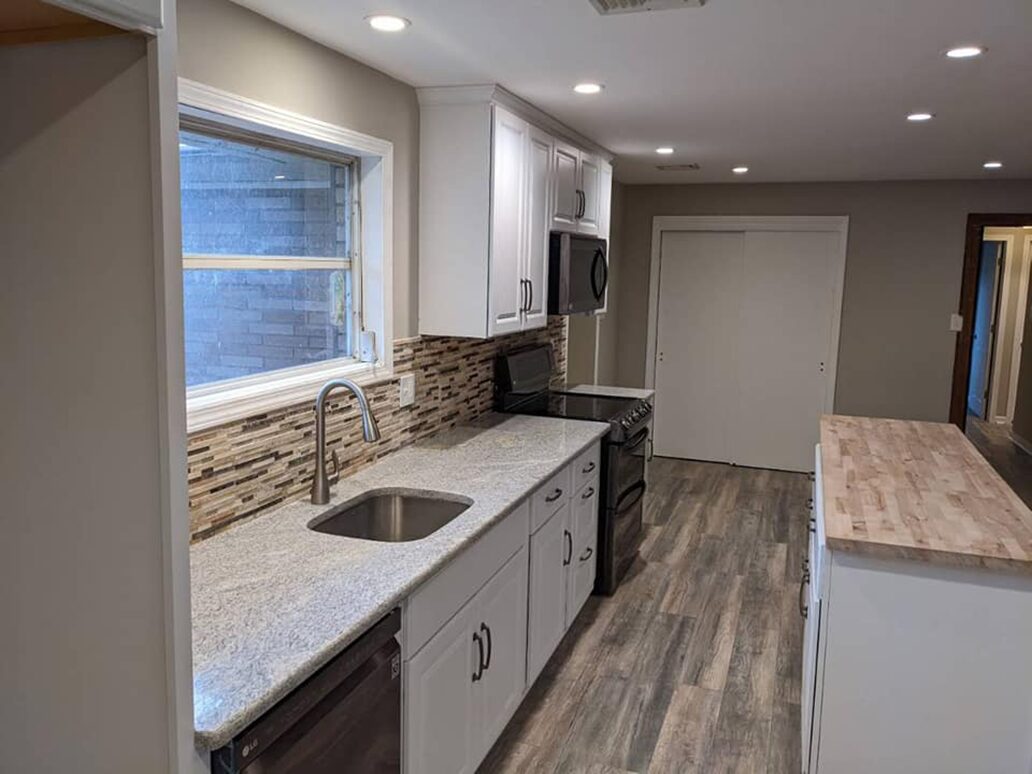
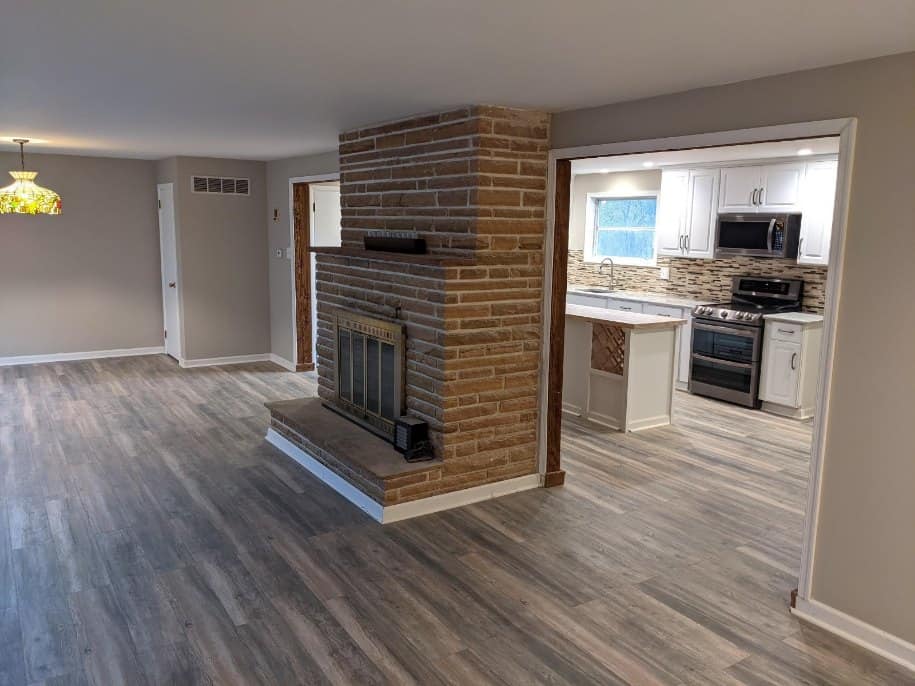
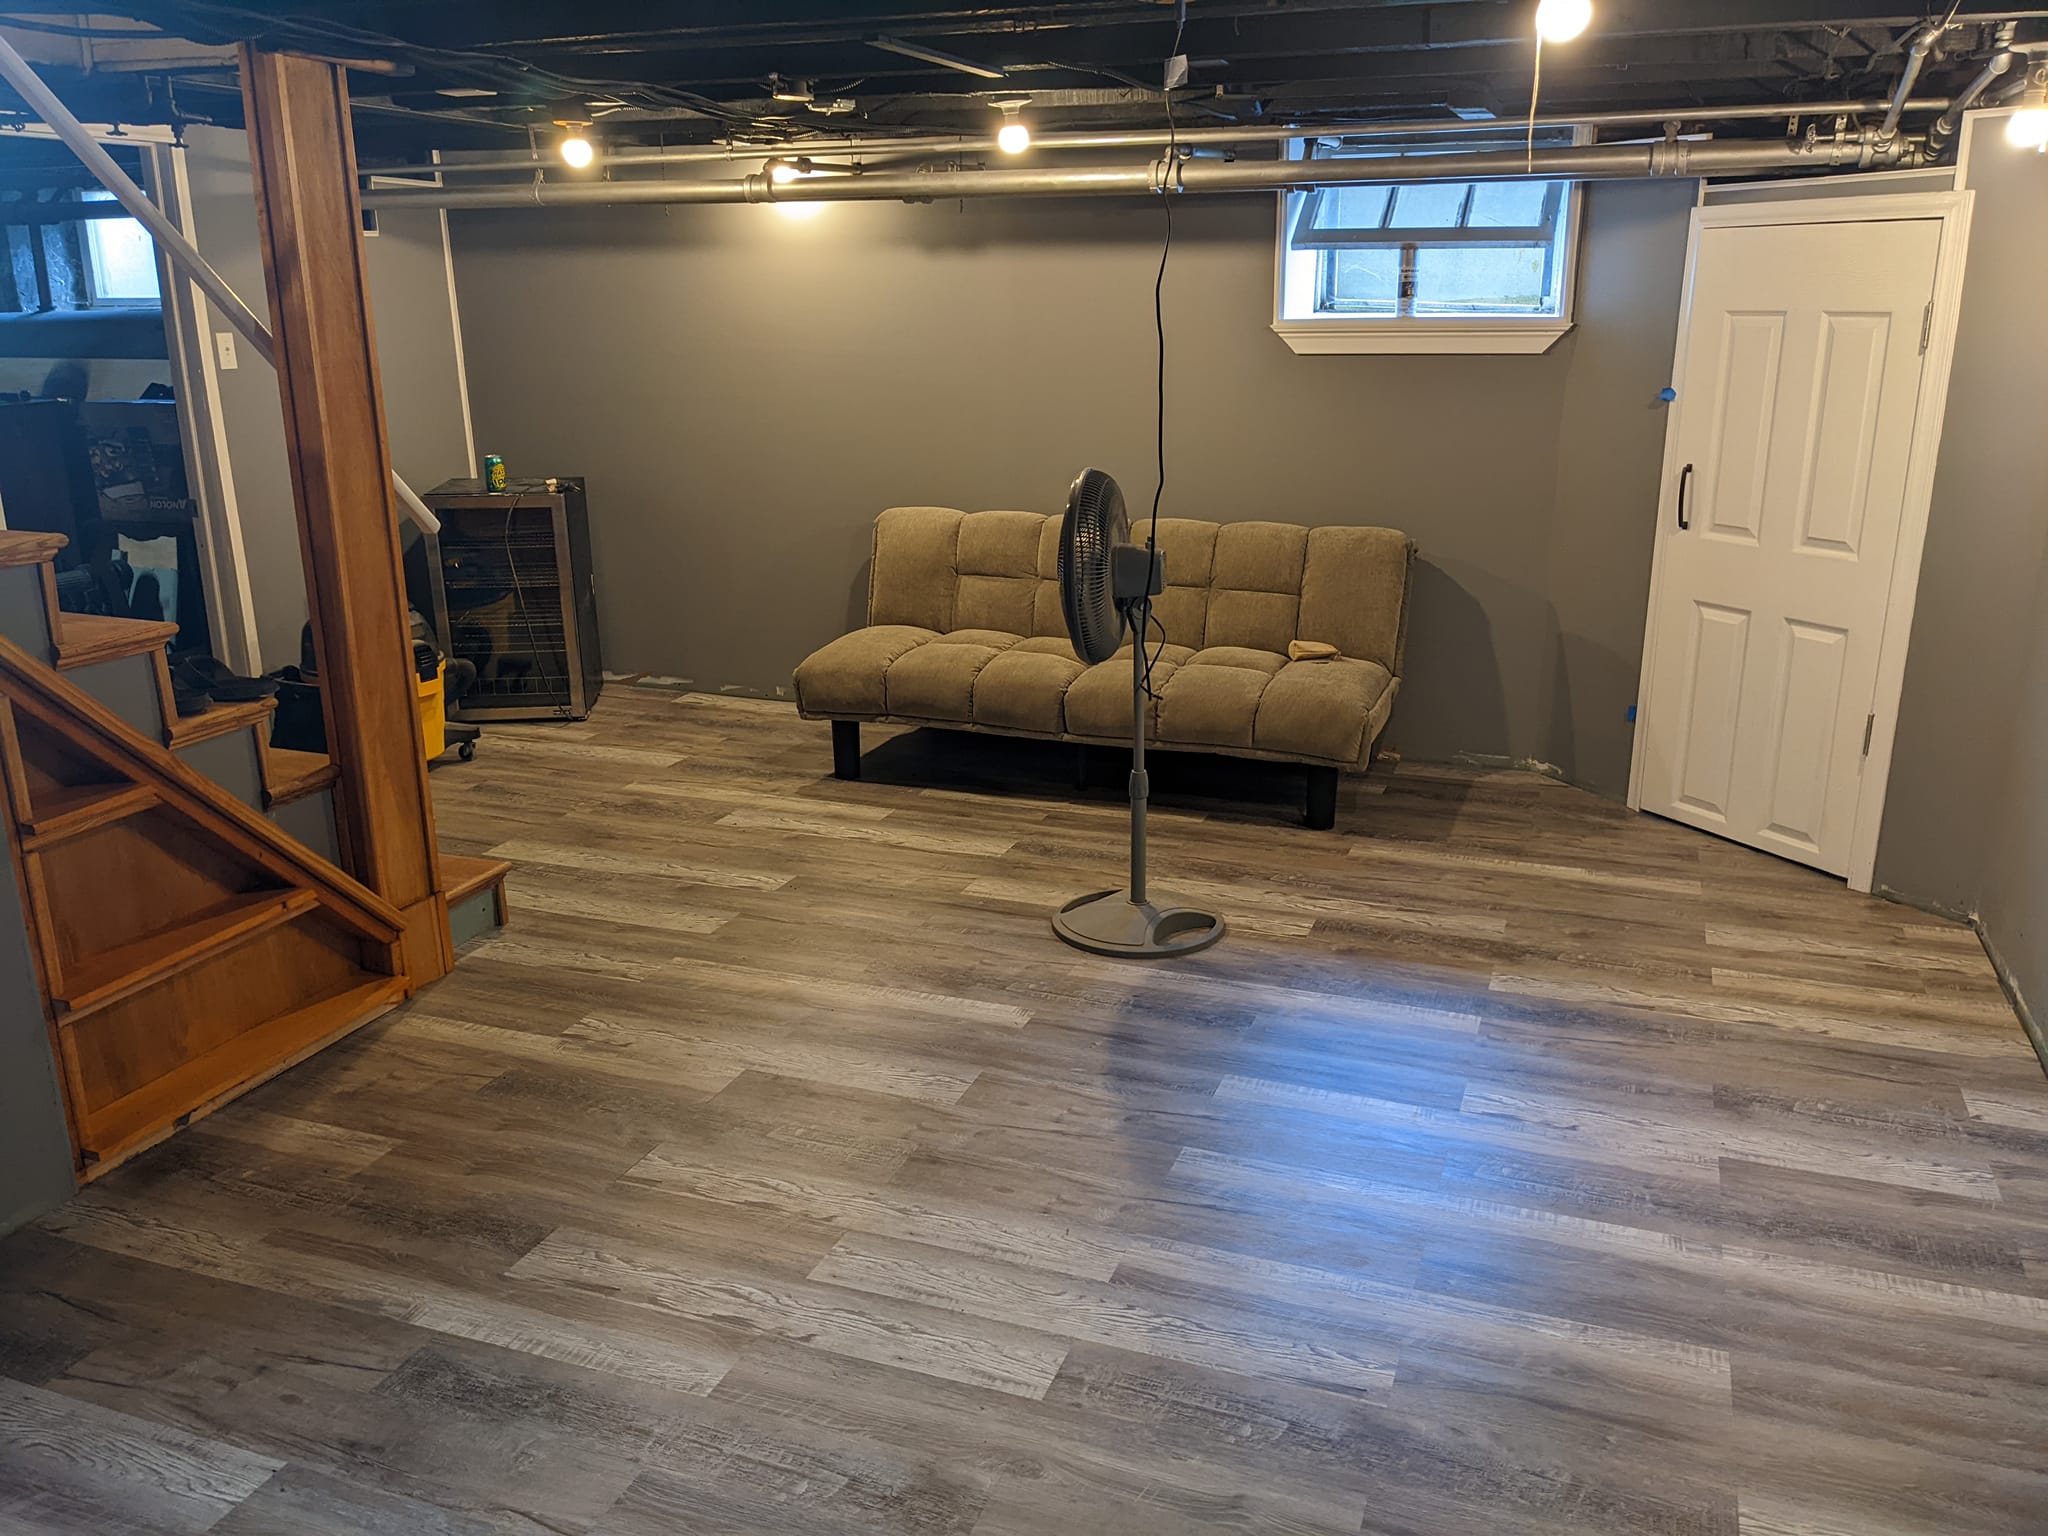
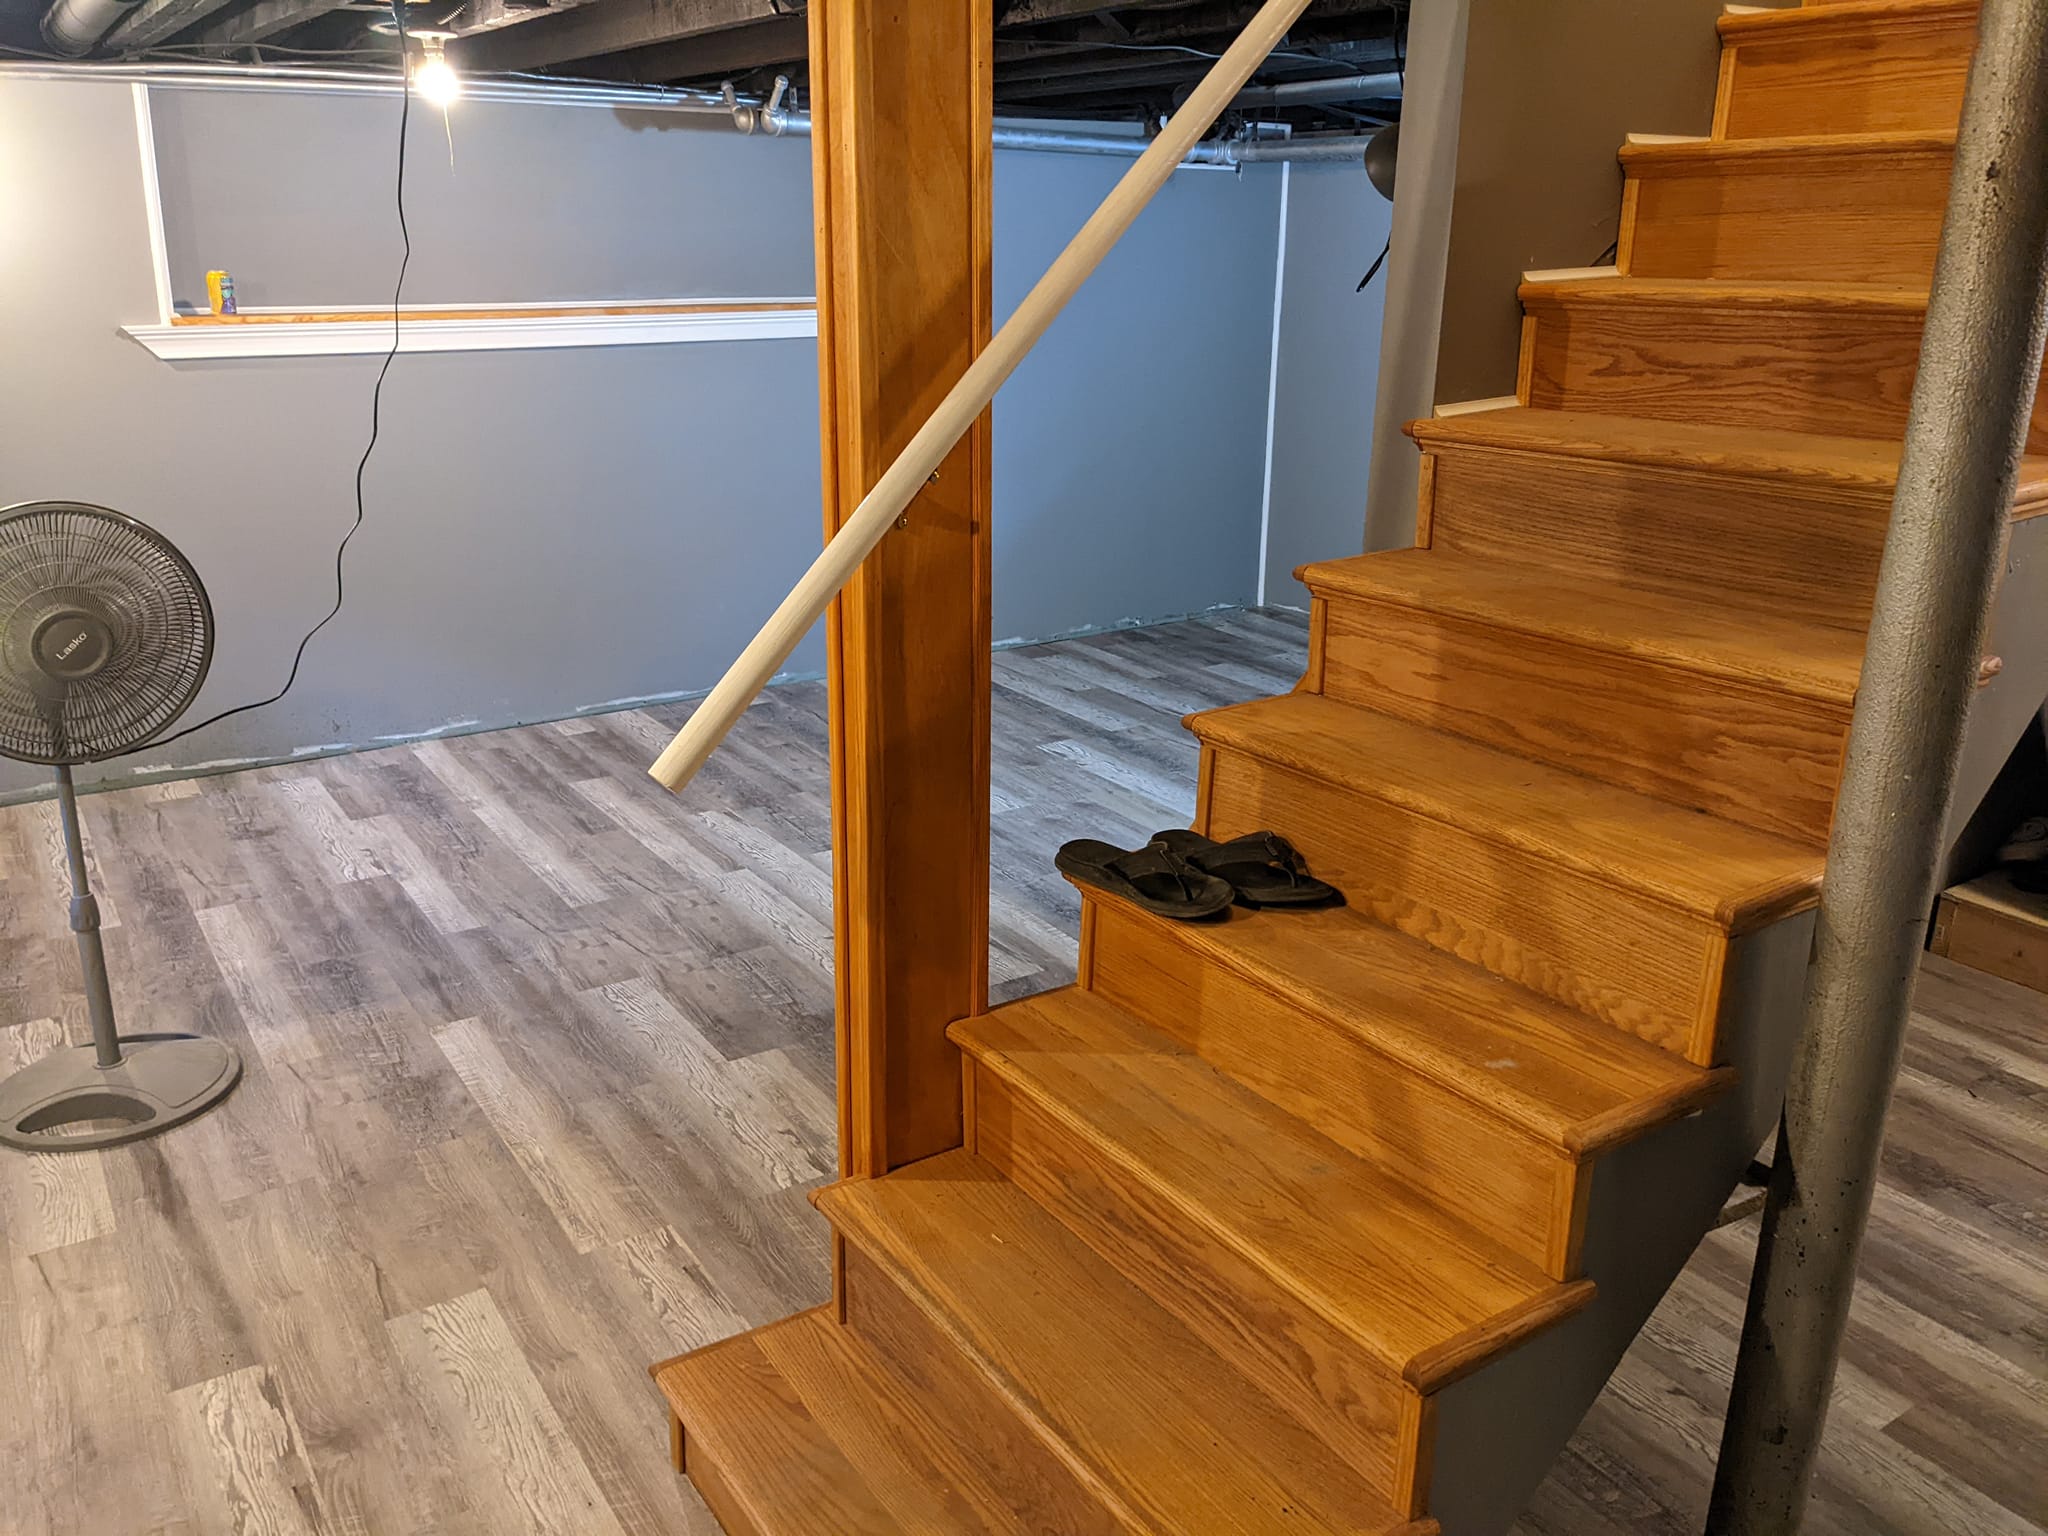
Vinyl, Laminate & Hardwood Flooring
We specialize with installs all types of composite and wood flooring including vinyl plank, laminate, wood, tongue and groove, etc. Our team will work to install a proper subfloor, repair the subfloor, or install a new floor over your existing floor depending on the project. We ensure tight and quality install with proper cuts. We can provide trim and baseboard install for a full service project if you prefer.
Our specialty is making sure the project turns out as you intended. RH Design Concepts is dedicated to going above and beyond to ensure the correct installation methods and safety precautions are taken. Talk to our team today and learn more.


Request A Free Consultation
Complete the form below and we will schedule a time to discuss your project.
About this process
Installing vinyl, laminate, and hardwood flooring each require specific steps and considerations as common task in construction and home improvement projects. Here’s a basic guide to our process:
We always aim to exceed expectations—at every project
- Understanding the full scope of work is crucial to correct installation
- From preparation to finish with trim—we aim to get it right
- Our team has the expertise to get the project completed successfully

Call For a Quote:
267•733•3831
Vinyl Flooring Installation:
-
- Preparation: Ensure the subfloor is clean, dry, and level. Remove any existing flooring if necessary.
- Underlayment: Install an underlayment if needed, especially for cushioning and sound absorption.
- Acclimatization: Allow the vinyl planks or tiles to acclimate to the room’s temperature and humidity as per the manufacturer’s instructions.
- Layout: Plan the layout, considering the starting point and any obstacles.
- Installation: Peel-and-stick vinyl tiles or planks are laid down one at a time, starting from one corner of the room. Some types may require adhesive.
- Trimming: Cut the planks or tiles to fit at the edges and around obstacles like doorways.
- Finishing: Install transition strips at doorways and apply baseboards or moldings to cover expansion gaps.
- Maintenance: Follow manufacturer guidelines for cleaning and maintenance.
Laminate Flooring Installation:
- Preparation: Prepare the subfloor, ensuring it’s clean, dry, and level.
- Underlayment: Install underlayment foam to help with moisture protection, sound absorption, and cushioning.
- Acclimatization: Let the laminate planks acclimate to the room for a specified time.
- Layout: Plan the layout, typically starting from one corner of the room and working towards the opposite wall.
- Installation: Click-lock laminate planks are installed by fitting the tongue of one plank into the groove of another at an angle, then lowering it to lock in place.
- Trimming: Cut the last row of planks to fit, leaving an expansion gap around the edges.
- Finishing: Install transition strips at doorways and cover expansion gaps with baseboards or moldings.
Our goal is to help you!
We’re dedicated to getting your flooring project right.
-
Hardwood Flooring Installation:
- Preparation: Prepare the subfloor, ensuring it’s clean, dry, and level. In some cases, a moisture barrier may be required.
- Underlayment: Depending on the type of hardwood and installation method, underlayment may or may not be needed.
- Acclimatization: Allow the hardwood planks to acclimate to the room’s conditions.
- Layout: Plan the layout, considering the starting point and any patterns.
- Installation: Hardwood planks are typically nailed or stapled down, glued, or installed as a floating floor using a click-lock system.
- Trimming: Cut planks to fit at the edges and around obstacles, leaving expansion gaps.
- Finishing: Sand and finish the floor as desired. Install transition strips at doorways and cover expansion gaps with baseboards or moldings.
- Maintenance: Regular cleaning with appropriate hardwood floor cleaners and periodic refinishing as needed.
F.A.Q.
There are many different details that surround installing various types of flooring. Our team is always happy to help you learn more about your project.
How long does it take to install (vinyl/laminate/hardwood) flooring?
The time it takes to install flooring depends on various factors such as the size of the room, the type of flooring, the complexity of the installation, and the experience of the installer. On average, it can take anywhere from a few hours to a few days to complete the installation.
Can I install (vinyl/laminate/hardwood) flooring myself?
While DIY installation is possible for some types of flooring, hiring a professional installer is often recommended, especially for hardwood flooring, to ensure proper preparation, installation, and finishing.
Do I need to prep the subfloor before installation (vinyl/laminate/hardwood) flooring?
Yes, preparing the subfloor is essential for a successful installation. This may involve cleaning the subfloor, ensuring it’s dry and level, and possibly adding a moisture barrier or underlayment depending on the type of flooring and the condition of the subfloor.
Can (vinyl/laminate/hardwood) flooring be installed over existing flooring?
In some cases, yes, depending on the condition and type of existing flooring. However, it’s essential to ensure that the subfloor is suitable for installation and that the new flooring will not exceed height thresholds, especially in doorways and transitions to other rooms.
What are expansion gaps and why are they necessary?
Expansion gaps are spaces left around the perimeter of the room during installation to allow for natural expansion and contraction of the flooring due to changes in temperature and humidity. These gaps are typically covered with baseboards or moldings.
Contact Us
Popular Services
267.733.3831